ArangoDB
This page describes how to connect Appsmith to your ArangoDB data and query it from your app.
Connect ArangoDB
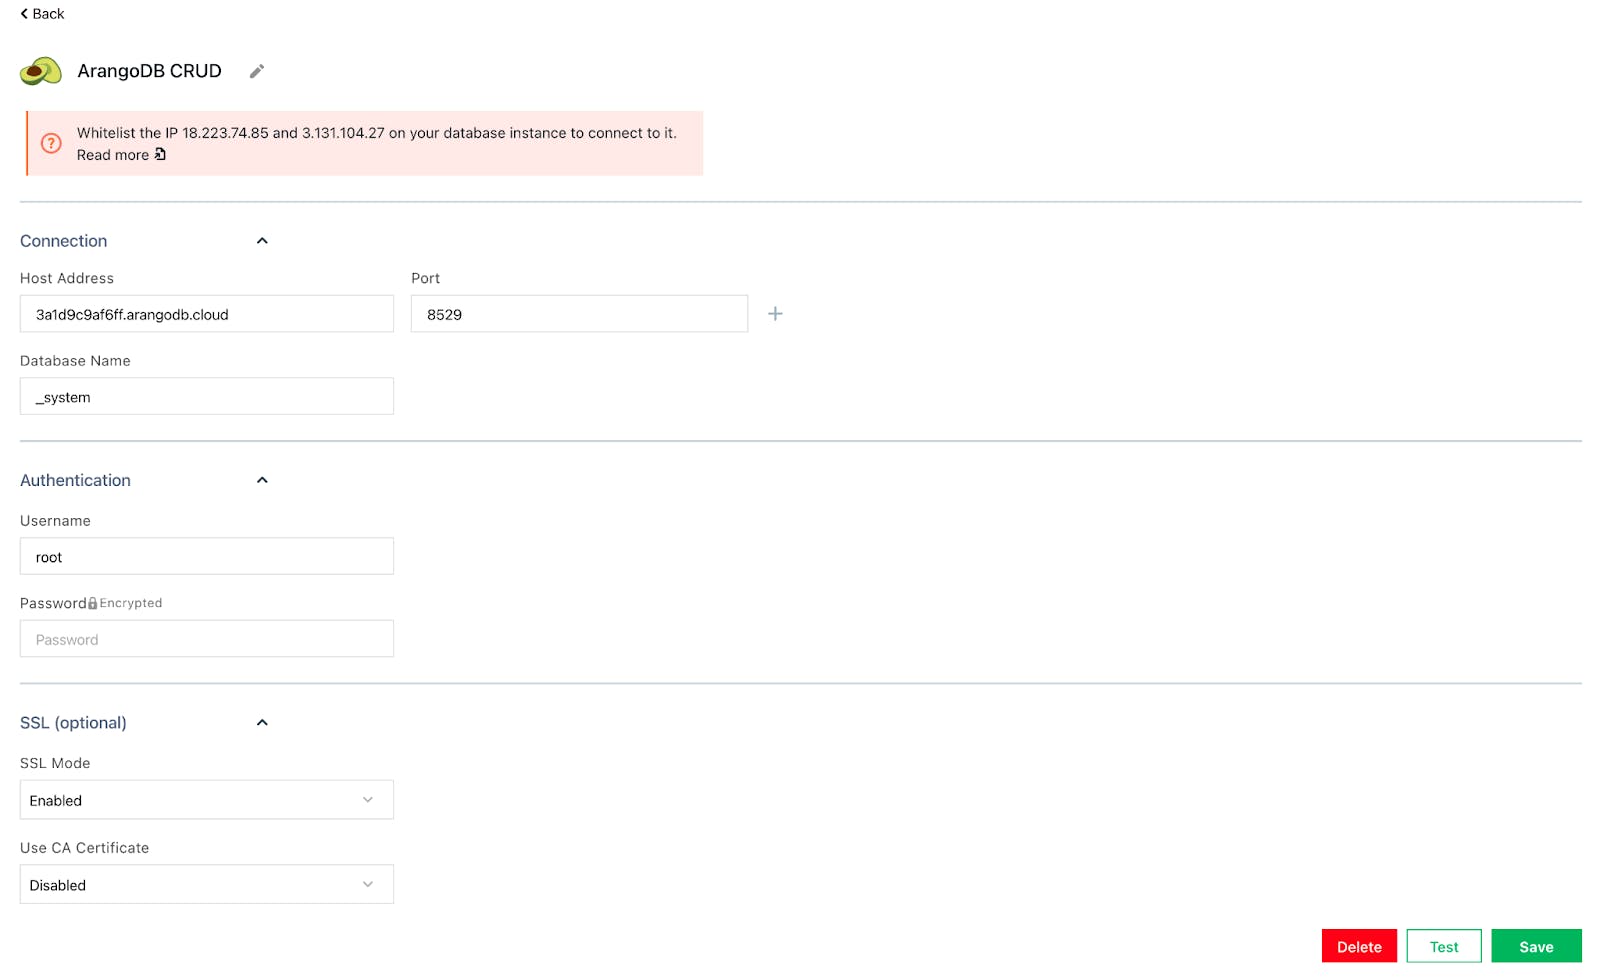
If you are a cloud user, you must whitelist the IP address ranges 18.223.74.0/24 and 3.131.104.0/24 of the Appsmith deployment on your ArangoDB instance. For more information about whitelisting in ArangoDB, see the ArangoDB documentation.
Connection parameters
The following is a reference guide that provides a description of the parameters for connecting to ArangoDB.

Host Address
Port
Database Name
Authentication
SSL mode
- Default: The same as Disabled.
- Enabled: Only allows an SSL connection.
- Disabled: Does not attempt an SSL connection; it uses a plain unencrypted connection.
Query ArangoDB
The following section provides examples of basic CRUD queries for ArangoDB.

For the ArangoDB Query Language (AQL) syntax, see the official AQL documentation.
Select
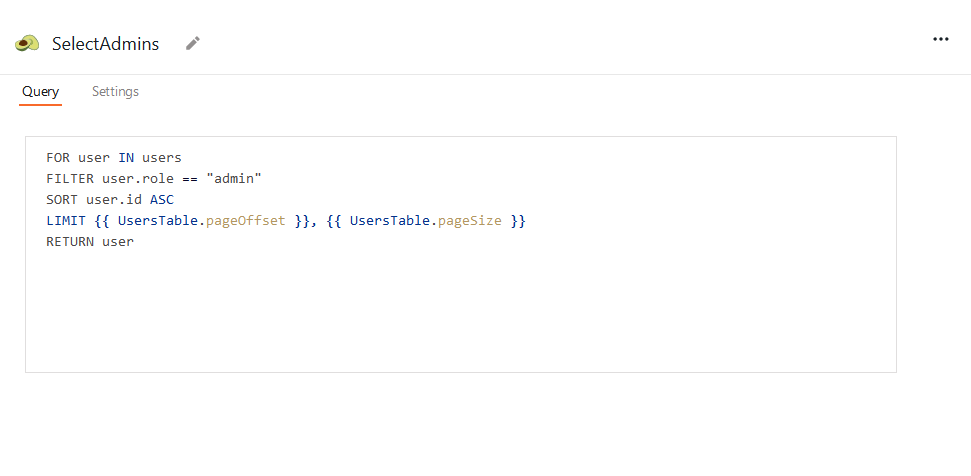
FOR user IN users
FILTER user.role == "admin"
SORT user.id ASC
LIMIT {{ UsersTable.pageOffset }}, {{ UsersTable.pageSize }}
RETURN user
In the above example, UsersTable is the name of the Table widget that displays the data. It is configured to use server-side pagination to control how much data is queried at once.
Create
INSERT {
    name: "{{ NameInput.text }}",
    gender: "{{ GenderDropdown.selectedOptionValue }}",
    email: "{{ EmailInput.text }}",
    role: "{{ RoleSelect.selectedOptionValue }}"
} INTO users
In the example above, NameInput, GenderDropdown, EmailInput, and RoleSelect are all widgets used to collect user input for the new record.
Update
UPDATE
"{{ UsersTable.selectedRow.id }}"
WITH
{
    role: "admin"
}
IN users
In the example above, the query uses the id of the row selected in the UsersTable Table widget to update that record's role value.
Delete
REMOVE "{{ UsersTable.selectedRow.id }}" IN users
In the example above, the query uses the id of the row selected in the UsersTable Table widget to delete that record.
Troubleshooting
If you are experiencing difficulties, you can refer to the Datasource troubleshooting guide or contact the support team using the chat widget at the bottom right of this page.
See Also
- Display and Lookup Data in Table - Learn how to display query results in a Table and enable users to look up data with ease.
- Search and Filter Table Data - Guide on adding search and filter functionality to Tables for better data navigation.
- Update Data - Understand how to update data in your application using Form widget.
- Insert Data - Step-by-step instructions on inserting new records into your database using Form widget.